NoCode Workshop 1 - Airtable
From blank table to working database — getting started with no-code in Airtable.


In this workshop, we will:
Get to grips with the Airtable interface
Learn about different data types
Create tables to store data
Build some automations for that data
1.1 What is Airtable?
Airtable is a place to store data. It offers the functionality of a database, in the format of a spreadsheet, making it a great way to get to grips with how data works. We’ll be using it as a database for our app today.
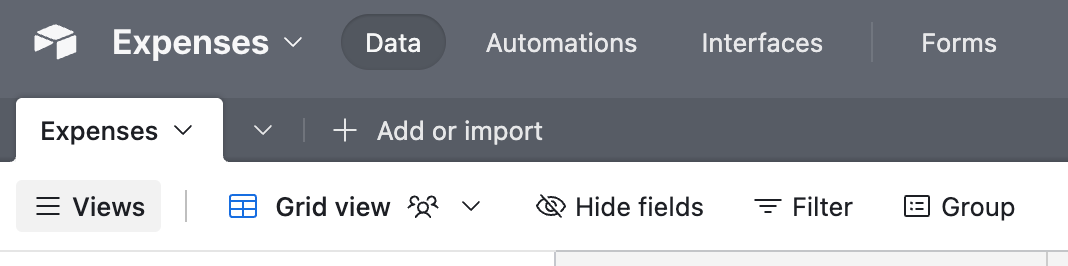
1.2 Creating a “base”
Once you’re logged in, at the bottom left (under the cookies banner!) you’ll find a button “Create”.

And we’ll want to “Start from scratch”
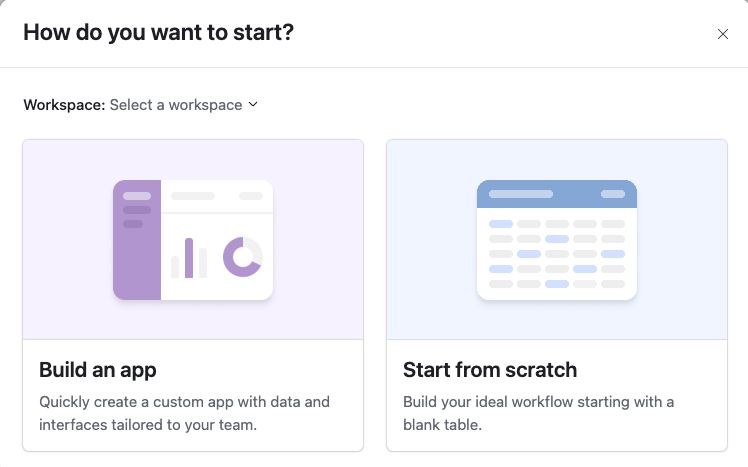
Close the popup “Getting started” on the right so we’ve got a bit more room to work with.
💡 There’s quite a lot of information in the interface here - we’re not going to go through all of it just now, we’ll just focus on the part that looks like a spreadsheet.
1.3 Setting up the base
And to give us a nice blank canvas to start with, click on the little arrow next to “Notes” “Assignee” and “Status” and click the “Delete field” button.

💡We’re going to use this base to store data about expenses. Each column is going to store a type of information (eg expense, amount, department, receipt ), and each row is going to be an expense (eg a train ticket I bought in Edinburgh for £10). In databases, the columns are referred to as “fields”
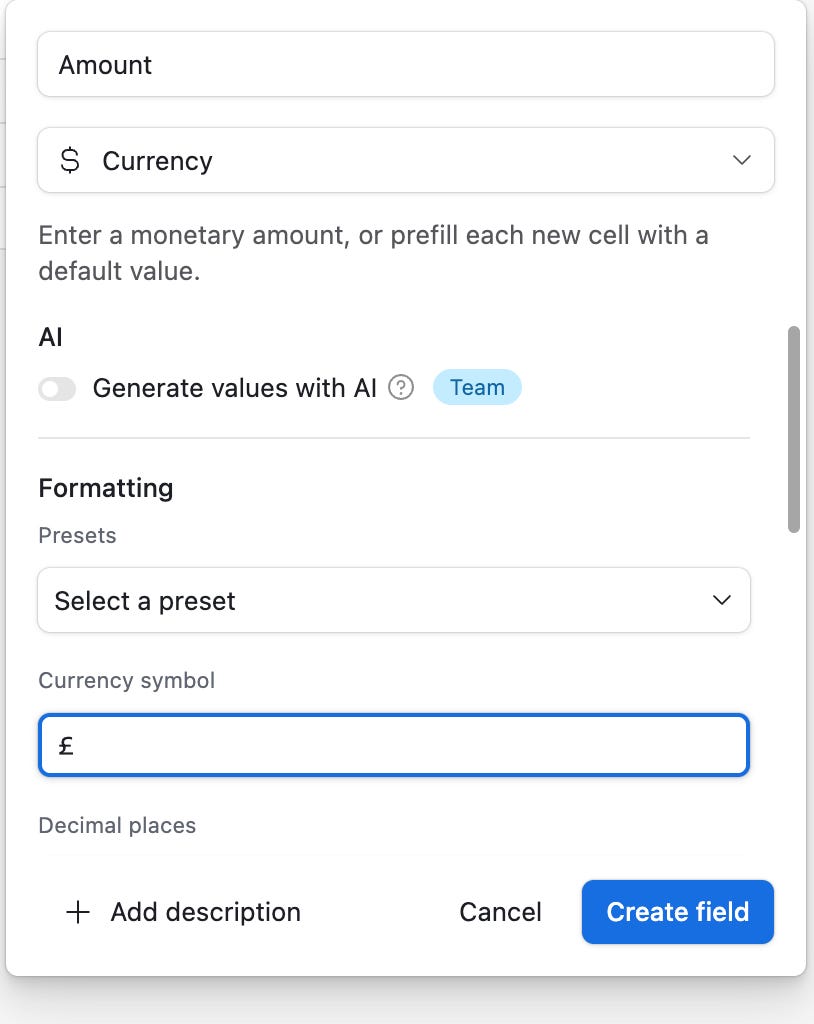
1.4 Creating our first field
Click the + button to the right of the “Name” field. Here you can choose the type of field. Note there are different types of data you can store here - text, attachments, numbers, dates, etc.
Call your new field “Amount”, and make it a “Currency” field. We’ll use this to store the amount an expense costs.
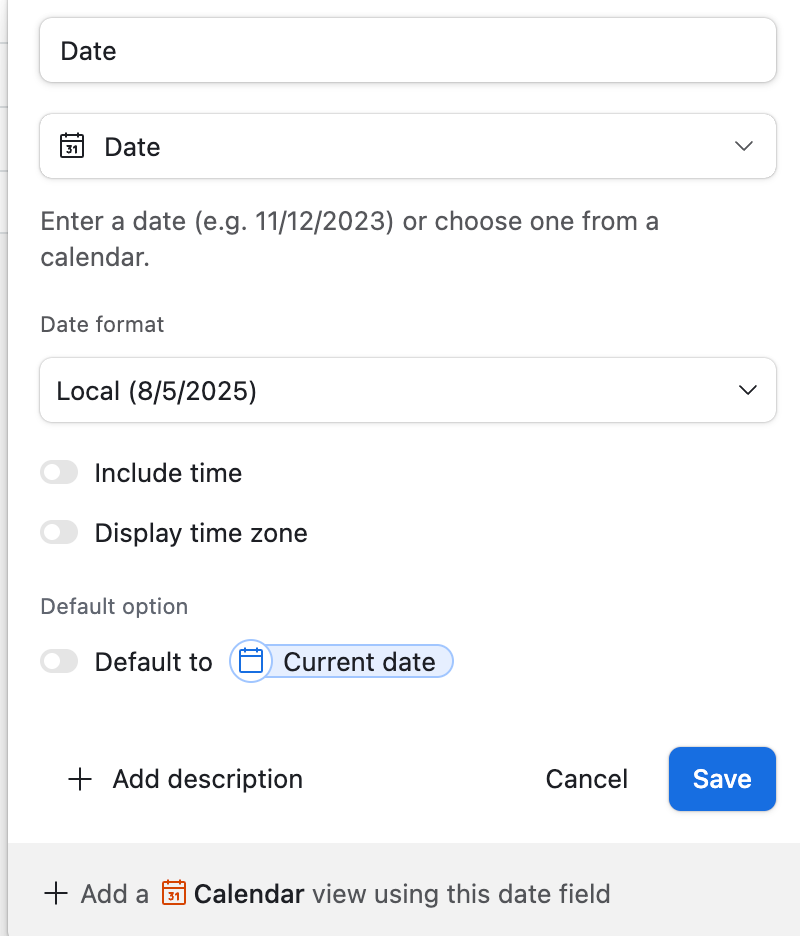
1.5 Adding a date field
Let’s add a way to store when the item was purchased. Add another field, call it “Date”, and set the field type to “Date”
1.6 Receipt field
Let’s add a field for people to upload a receipt or invoice to. We can call this field “Receipt / Invoice” and set the type to be “Attachment”. Attachments can store many file types, so you can upload pictures, PDFs, etc.

1.8 Let’s add some dummy data in
Now is a good time to add some fake items for sale to our database so we can get a bit more of a feel for it. Add a couple of items in.
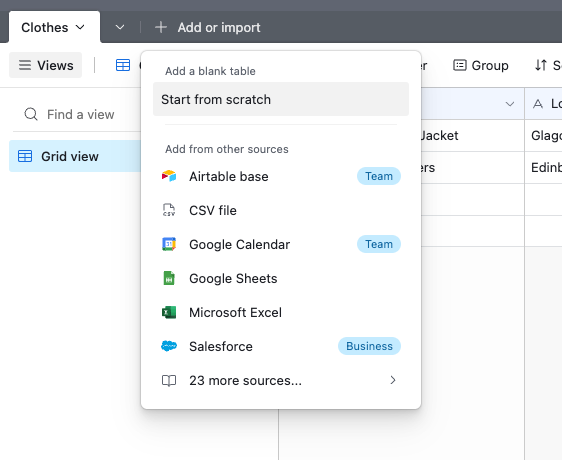
1.9 Creating our second table
First things first, let’s name our table as “Expenses” (found near the top left)
.. and now we want to create a second table, by clicking
The “Plus” button next to our table’s name
“Start from scratch”
And call our new table “Users”
Follow the instructions in 1.3 to delete the fields that aren’t “name”
Then create one extra single sentence field called “Email” - which we’ll use to store the user’s email.
We’ll also want to create some dummy data here - make up a couple of names and emails (I like using the @example.com domain), eg
Joseph Lister / joseph@example.com
David Hume / david@thisiscodebase.com

💡CHECKIN MOMENT - let’s talk about relational databases. The idea is we want to “link” an item from one table to another. In this case, we want to link the person who is selling a particular item of clothing to the item of clothing itself.
1.10 Creating a relationship
Let’s go back to our “Expenses” table and add a new field, and we want to use the type “Link to another record”, then select the “Users” table.
You also want to disable “Allow linking to multiple records” (if this were on, it would mean you could link multiple people to the same expense).

It may prompt you to add a “Lookup field” - this brings through information from the other table, eg the User’s name. Let’s ignore it for now, but we’ll come back to it.
If all has gone to plan, you’ll be able to select one of your sellers from the User table in this field!

Relational databases like this are extremely powerful. It allows you to link together different concepts. For instance:
In AirBnB, you could link a person to own a particular property
In Deliveroo, you could link an order to a restaurant
In Eventbrite, you could link an event to a host
If you finish early, here are a few bonus things you can do:
Create a third table called “Departments”, IE “Sales” “Marketing” “Operations”. This could have the fields “Description”, “Contact email”.
Both Users and Expenses could be linked to a department.
Add a “Created at” field to the Expenses table you know when the expense was added
Use a Lookup field to pull through the user’s name and email address for each expense
Create a form (found at the top) that allows users to submit a new expense.
Part 2: Automations
💡In this section, we’ll build our first database automations within Airtable
2.1 Sending an email
Airtable’s automations are found in the top navigation
The automations generally consist of a “trigger” (what causes the automation to happen?) and the “action” (what should happen?).
Let’s start by making something happen when a record is created.
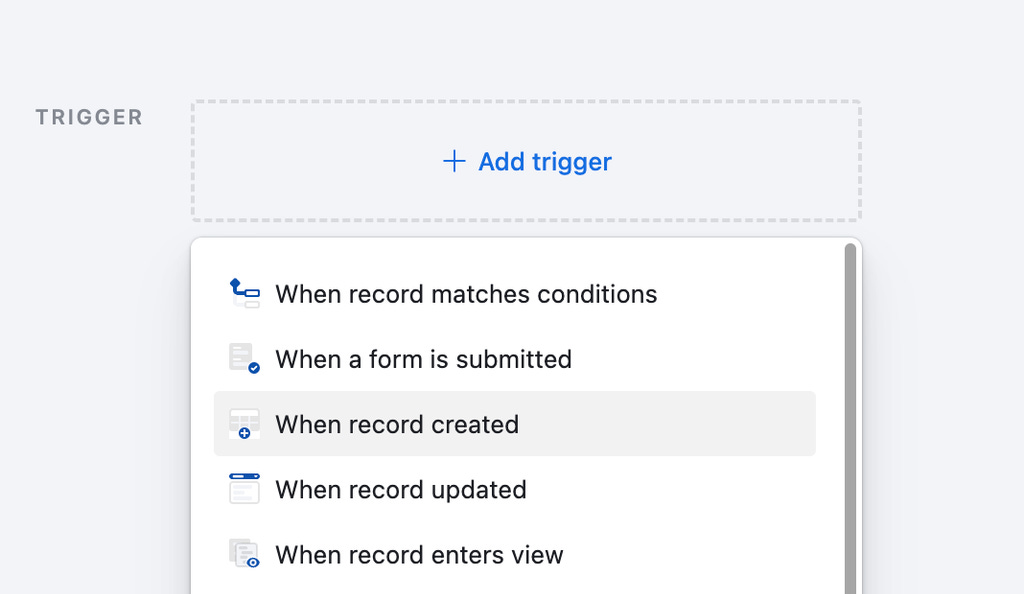
We’ll configure the trigger on the right-hand side - choose the Expenses table.

Now we’ll choose the action - let’s make it send an email when a new record is created.

Now you can configure the email. For now, put your own email address in, and type something for the Subject.
In the Message, we can use what’s called Dynamic Data - this is data taken from the record that was just added. We can also include the receipt as an attachment.

Test it out and check your inbox!
2.1 Conditional logic
Let’s make a slightly more complicated automation - we can make a new one that will email a user when their expense has been marked as paid.
To do this, we’ll use the “When a record matches conditions” trigger.

Now we can use the user’s email address in the “To” field so the email will be sent to the user who originally submitted the expense!

Further challenges:
Can you make it so the email will go to one person if the price is greater than £10, or someone else if it’s less than or equal to £10?
Hint: Use Conditional Logic
On a Monday morning at 9am it sends a list of all expenses that are Submitted to your email?
Hint: Use At a Scheduled Time and Find records
💡If you really fly through this exercise, consider trying out setting up a Zapier account (it’s free!) - you can then connect your Airtable to 8,000+ apps!